How to make a minimalist blog theme in drupal
For a client I had to reform myself a little on drupal, so I take this opportunity to do a little tutorial on creating a fairly simple drupal theme from skratch. As a reminder Drupal is a content management system (CMS) written in PHP, to date Drupal is at version 9.
What are we going to do in this tutorial?
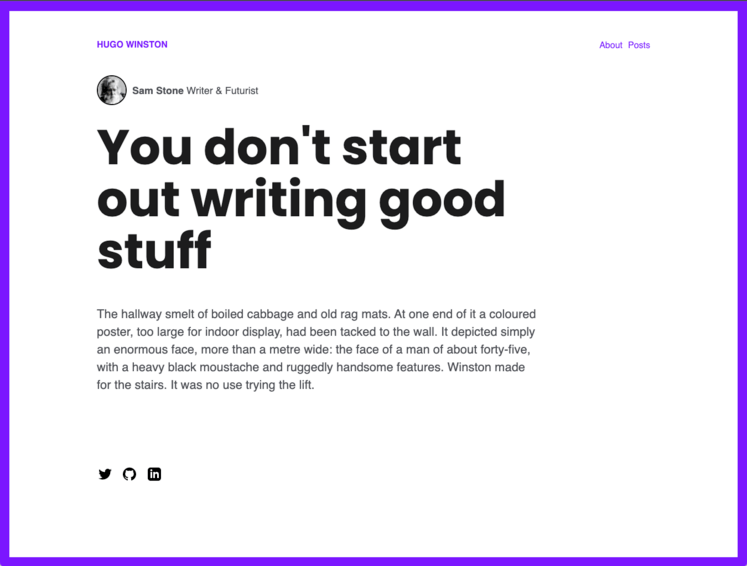
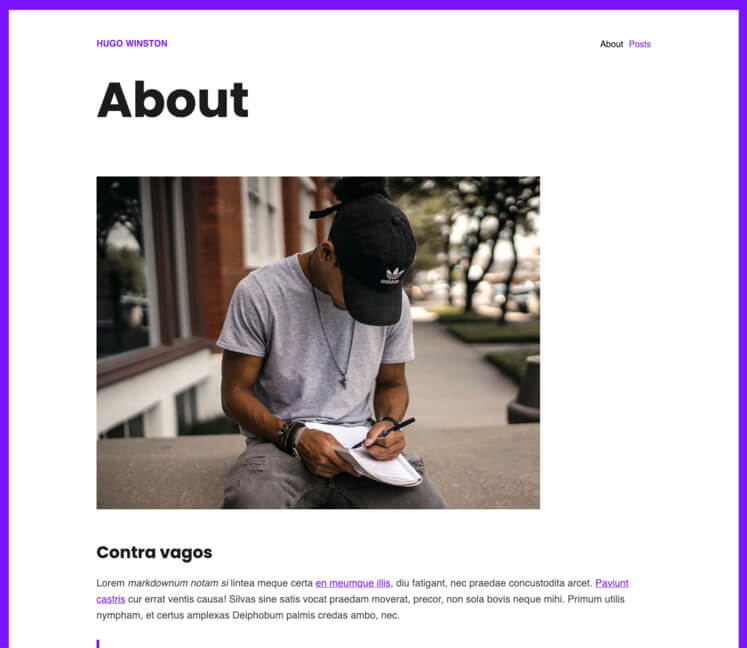
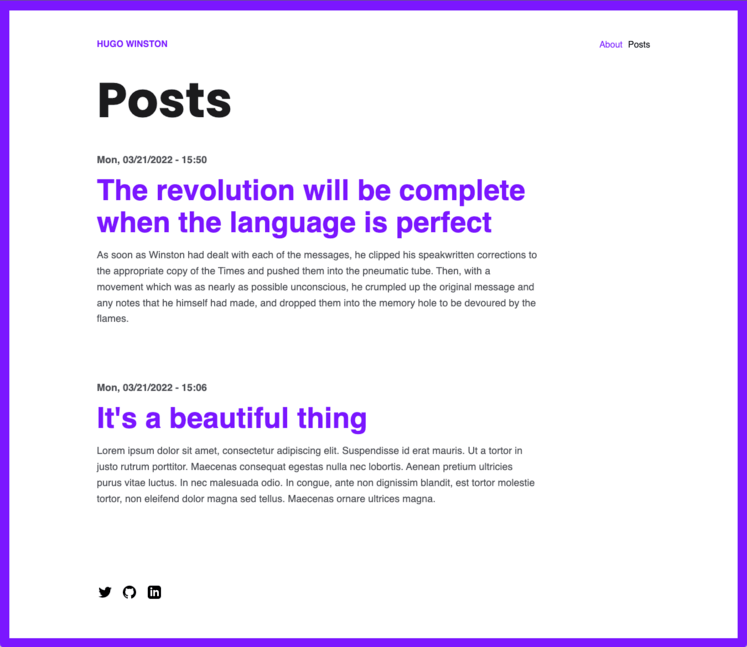
For this tutorial we are going to reproduce an existing design, quite minimalist but which will allow us to see a lot of things such as the creation of custom blocks, the modification of views etc... In the end the site will have a Home page with an introduction, an About page with images and information. And a Posts page with a list of articles.
The theme is basically a theme for Hugo, available for free here : hugo-winston-theme and you can see a demo of this theme here The goal of this tutorial is to focus more on the code and the organization in the administration of drupal than on the design.
I assume that you already have an installed version of drupal and that you want to create your own theme. If you don't have drupal installed, here's how to create a dev environment with docker: Docker configuration
Creation of the theme
The first step is to create the folder where we will put all our files, to properly structure we will first create a "custom" folder in the "themes" directory and in this custom folder, create the folder that will have the name of the theme: here the name will be "minimalblog".
So we will have : themes/custom/minimalblog
The *.info.yml file
Then the entry point of the theme is the file [themename].info.yml which will contain various information on the theme. So here I will create the file minimalblog.info.yml with inside:
name: Minimalblog themedescription: A minimalist blog themetype: themecore_version_requirement: ^9
libraries:  - minimalblog/global-styling
base theme: classy
regions:  header: "Header"  content: "Main content"  footer: "Footer"
Let's go back a bit to the content of this file, so we have:
- name: the name of the theme that will be displayed in the drupal administration
- description: the description of the theme that will be displayed in the drupal administration
- type: which indicates that it is a theme (possible values are module, theme, or profile.)
- core_version_requirement: defined for which version this theme will work, here the version >= 9
- base theme: the theme will inherit resources from another theme, here: classy
- libraries: A list of libraries (which can contain both CSS and JavaScript assets) to add to all pages where the theme is active.
- regions: A list of theme regions where we can put blocks
Just with this file in the drupal administration, in the Appearance tab you should see in the "Uninstalled themes" section your new theme and be able to activate it.
The *.libraries.yml file
In our previously file minimalblog.info.yml we indicated to use minimalblog/global-styling but for the moment it does not exist. We will therefore create the minimalblog.libraries.yml file at the same level as the .info.yml file with this content:
global-styling: version: 1.x css: theme: css/global.css: \{}In the file, we first have the name, which allows us to import it into the info.yml file, then the version of the library and the assets we want to use (here the global.css file).
This file (global.css) does not exist yet, before creating it we will add a "css" folder in our theme folder and add our global.css file there. As I said at the beginning of the tutorial I will not dwell on the design in this tutorial so I directly took the css file from the final site to copy it inside global.css
The page.html.twig file
In our minimalblog.info.yml file we define 3 regions (header, content and footer) to display these regions we must rewrite the page.html.twig file to define the layout of our pages. To properly structure our theme, we will first create a tamplates and layout folder and then create our page.html.twig file (themes/custom/minimalblog/templates/layout/page.html.twig) with the interior:
<div id="wrapper" class="wrapper"> <header>{{ page.header }}</header> <main>{{ page.content }}</main> <footer>{{ page.footer }}</footer></div>Very simple structure, we display our different regions using page.[region]
Administration
Now that we have our basic structure, let's move on to the administration to create content.
Creation of pages and articles
We will first create our pages, we will need the pages:
- Home
- About
- Posts
And also some articles for our posts page. To create all this, it happens in the Content page of the drupal admin

Once the pages are created we need a menu with two elements "About" and "Posts", to modify the menu you have to go to Structure/Menus and modify the menu "Main navigation" to add 2 links
Custom Blocks
Now that we have our content we will organize our blocks in our pages. But before adding our blocks to the different regions we will create 2 custom blocks:
Social Media
In the footer of the site we have social network icons that lead to the profiles of these networks. We are therefore going to create a custom block type: Social Media
Once created you can add Fields by clicking on "Manage fields" and add 3 Link type fields.

And now we can create our Social Media type block, and fill in the different urls.
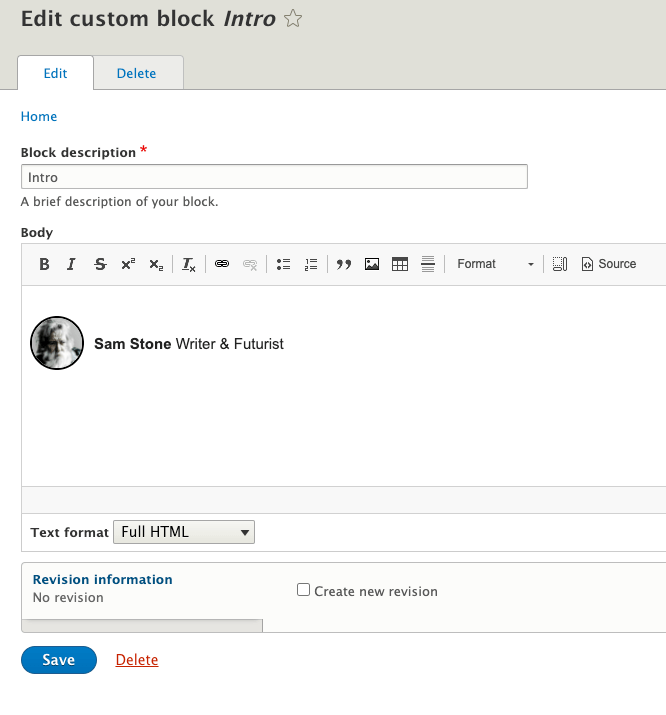
Intro block
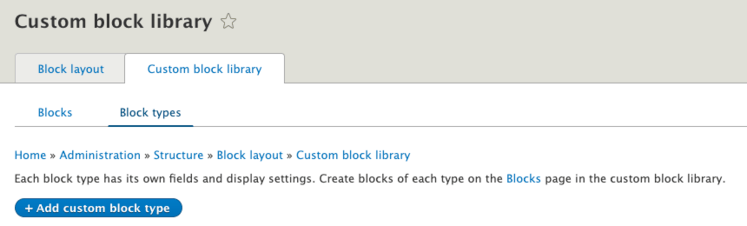
The second custom block that we will create is to create the intro on the home page which contains an image and text We will therefore go to Custom block library and do "Add custom block" and we will do a Basic Block and create via the wysiwyg the intro that we want
Block Layout
In the Block layout page of the administration (Structure/Block Layout) we can see our different regions that we have defined above (header, content and footer). For each region we will add blocks
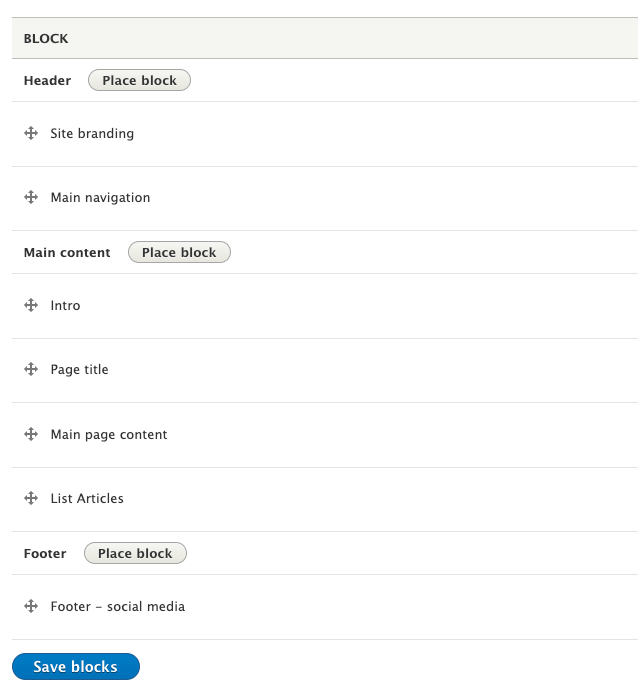
Header
For the header we will add two blocks: Site branding to display the name of the site and Main navigation for the menu that we created previously
Content
The first block of Content will be our custom block Intro that we will configure to be displayed only on the home page (you must specify front in the list of pages), the second block will be Page title to display the h1 of the page on each page and not have to add it to the content of each page, the third block is the content of the Main page page content and finally we will display the block of type Lists (Views) that we will display only on the Posts page (/posts)
Footer
We will add our new block Social Media
Lists Views
When we look at the design of the list of posts we see that it first displays the date of the post, then the title and finally the beginning of the post, truncated.
To modify our List we must go to Structure/Views and Modify List Articles, in this page we can manage the fileds we want to display, just activate the fields Authored on, title and body. When you choose the field body you can choose the "Summary or trimmed" option and define a Trimmed limit of 400 for example.
Conclusion
This is the end of this little tutorial! You now know how to create a theme, organize your site by regions and create blocks, I hope it was useful, to go further there is the drupal documentation which explains for example all the possible fields for files *info.yml
👋 Peace